My fortune cookie last night said I have recently left many things undone, and at this rate I may never get them done. Quite alarming indeed. One of the things I haven’t done well recently is regular posting on this blog. So I’ve decided that before the year ends, I have to remedy this by writing a couple of new posts.
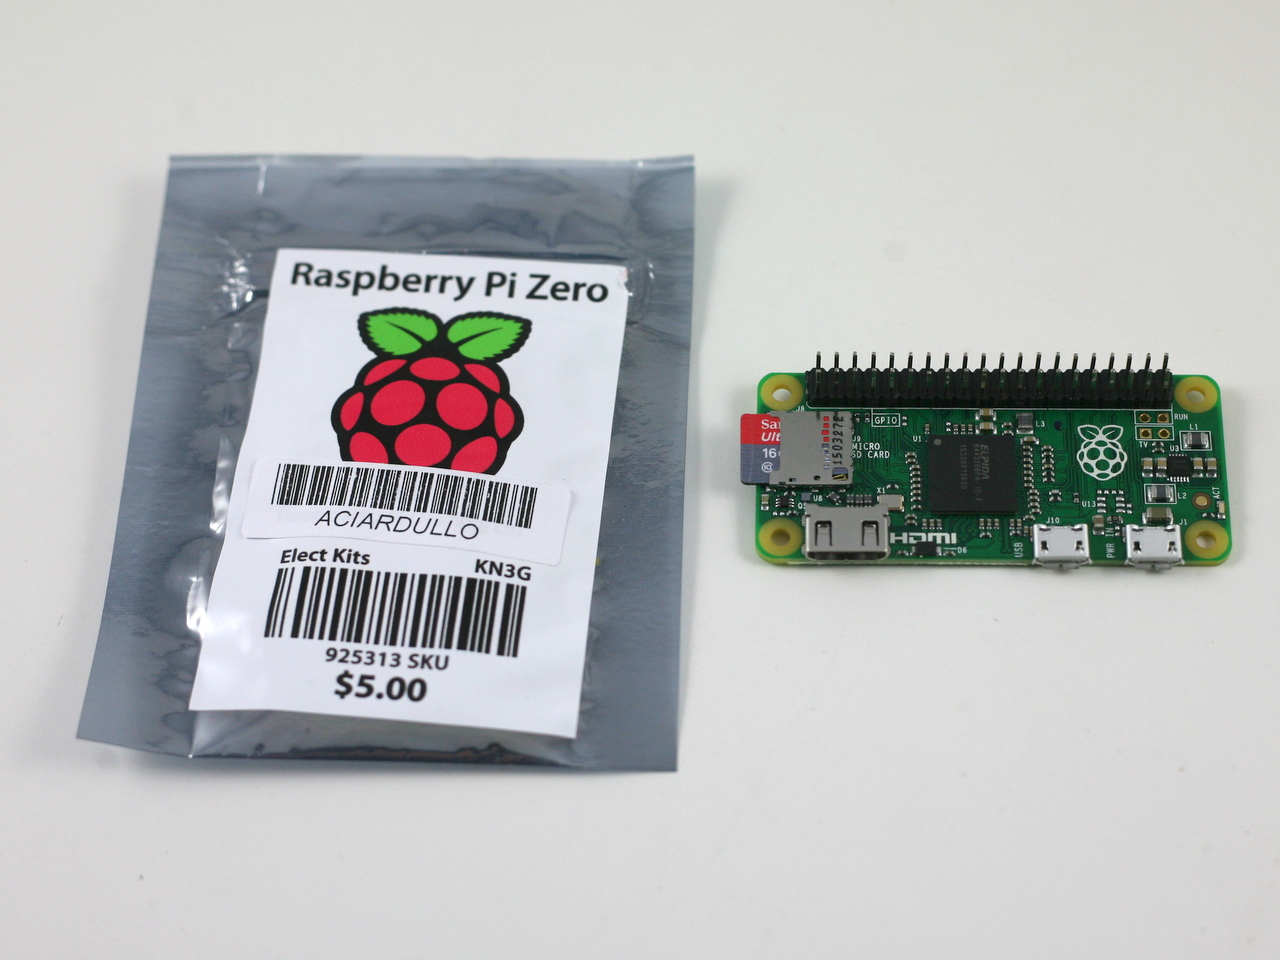
The first order of business today is Raspberry Pi Zero. I am sure many of you have heard of it, which is the latest new comer in the Raspberry Pi family, and it has a jaw-dropping price of $5. Five dollars for a tiny computer that runs a full Linux system, how amazing is that! Well, since announced, it’s in such high demand that it went out of stock at most online stores. I’ve been waiting to get my hands on one for a while. A few days ago I was visiting friends in Long Island, New York and discovered that surprisingly I can get the Zero from Micro Center retail stores. So I went and purchased one in their Westbury store. It took me a while to find it in a locked cabinet, and apparently it’s limited to one board per customer. It’s such an anomaly, because normally things in high demand and so difficult to get would be very pricey, but this is only $5!
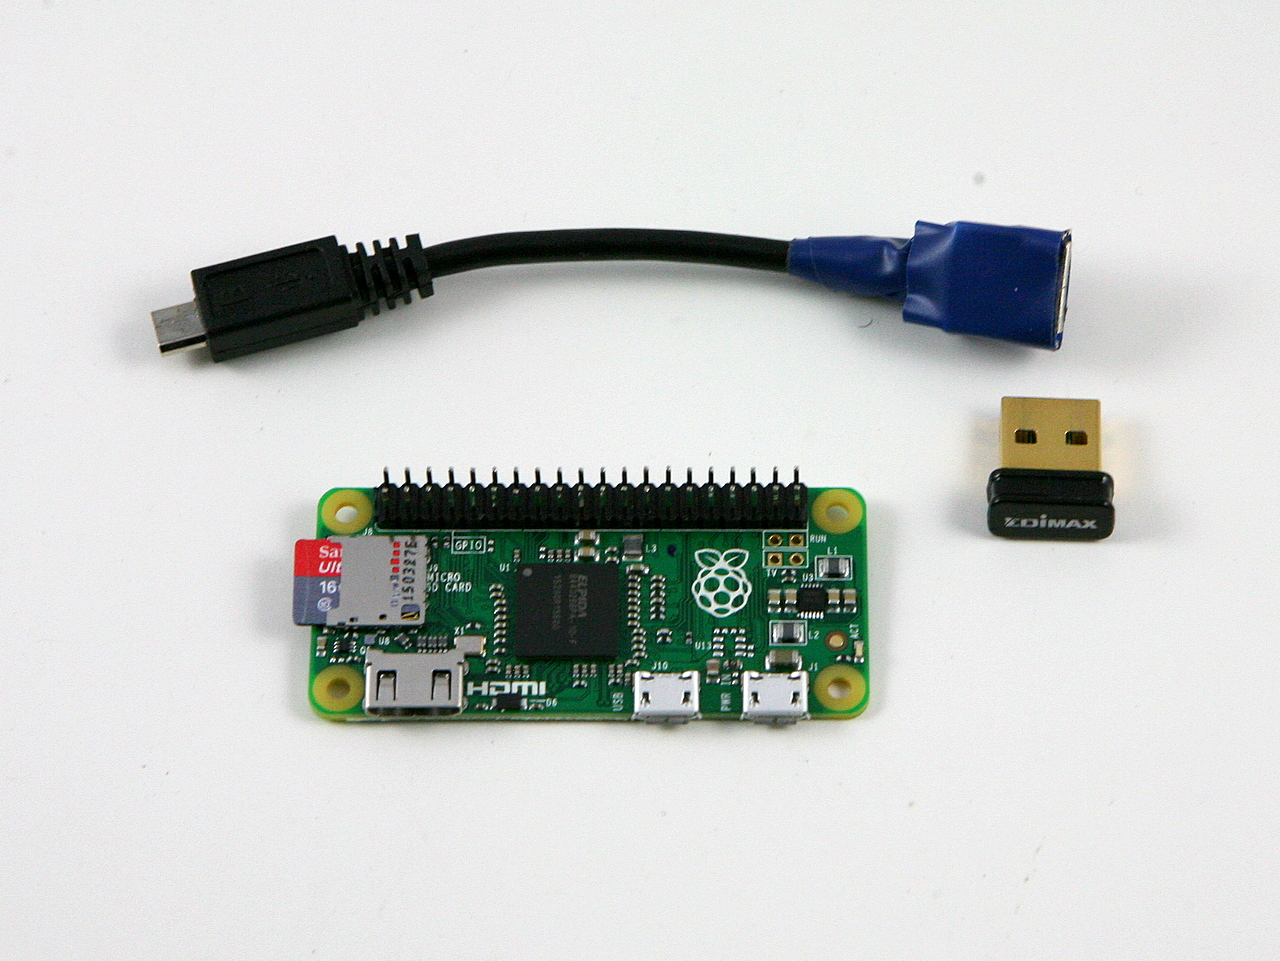
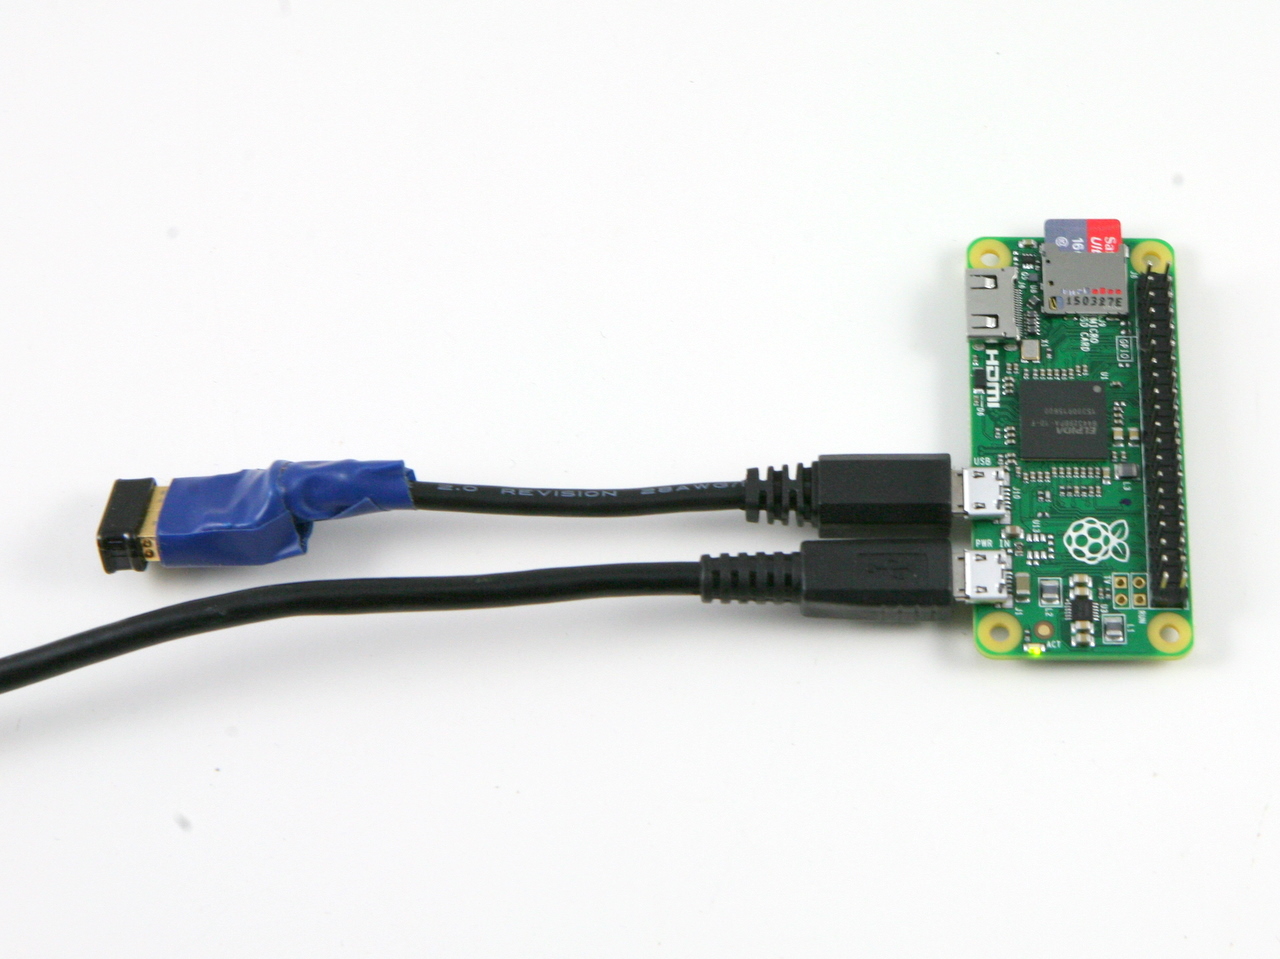
The main reason for me to get one is to verify if it works well with OpenSprinkler Pi, as several customers have asked me. The answer is yes, as the video demo below shows. But before you decide to dive in, you should be aware of the hidden costs, which can quickly add up. First, to reduce cost the Zero does not have the 2×20 pin headers pre-soldered, and it doesn’t have a standard size USB connector. This means in order to use it with OpenSprinkler Pi, you need to hand solder the pin headers; and in order to connect it to a USB WiFi dongle, you need a microUSB to USB adapter, which is commonly known as the OTG (USB On-the-Go) adapter. If you are not willing to go through the hassle, you’d be better off staying with Raspberry Pi A+, which is only $20.
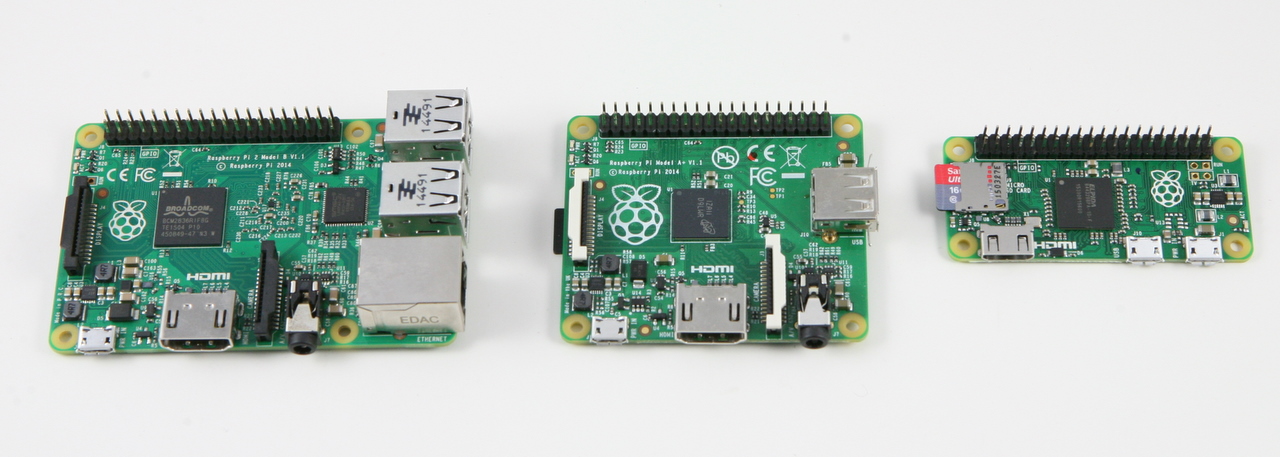
Here is a display of three Raspberry Pi’s: version 2 model B, A+, and Zero.
The OTG adapter I ordered hasn’t arrived yet, so I decided to make one myself. It’s quite easy: just cut the connectors from an existing microUSB cable and USB extension cable (which has a USB A female connector), strip them, solder the four internal wires with matching colors, and use some hot glue and electric tape to fix everything in place. I then burned a new microSD card (with the latest Raspbian image) and installed the OpenSprinkler firmware. Plug it into the OpenSprinkler Pi circuit board, and insert 24VAC power supply: Voilà, it boots up in under a minute and I can start turning on and off sprinkler valves right away. There you go, it’s verified! For those who want to see real actions, check out the Youtube video below.
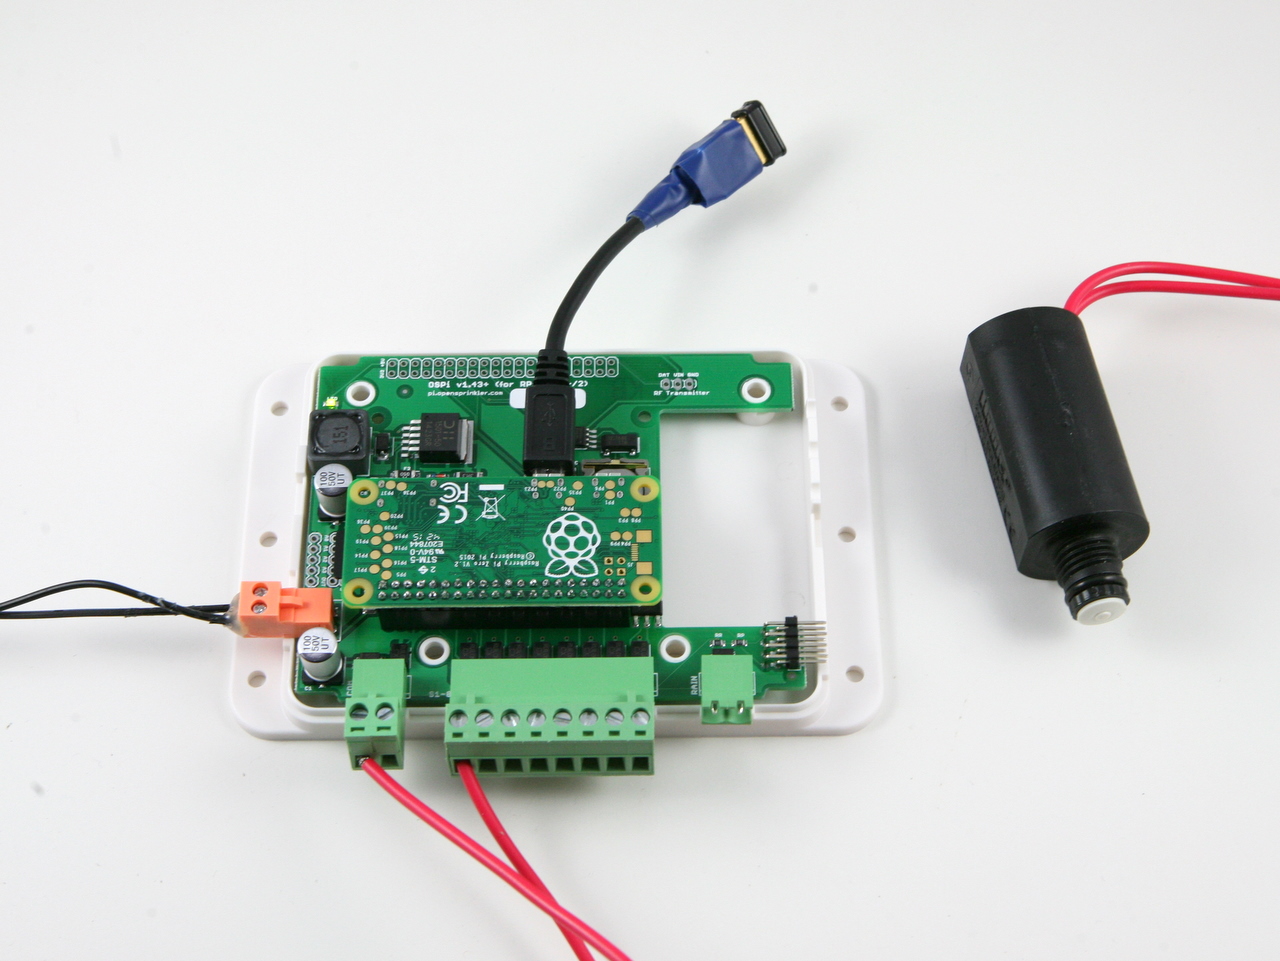
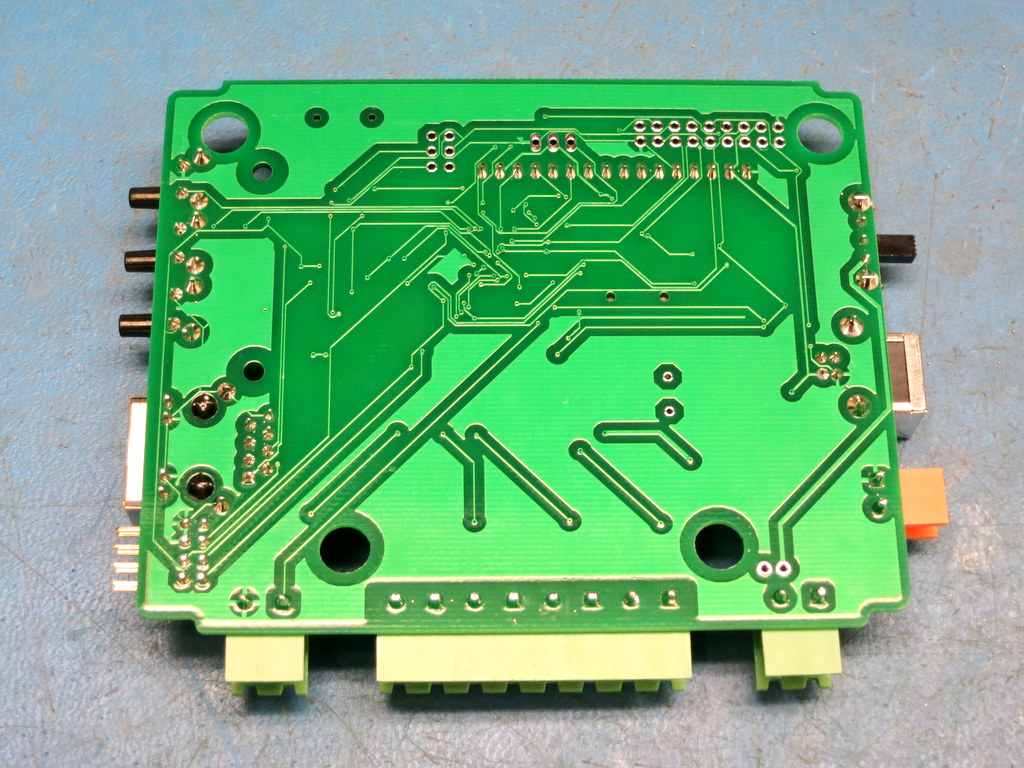
Currently the OpenSprinkler Pi circuit board doesn’t have screw holes that match those on the Zero. The consequence is that the Zero won’t have much physical support other than the 2×20 pin header, which is pretty tight and does provide reasonable support. I will have to modify the board design to incorporate the screw holes. I am half hoping that the Raspberry Pi foundation would release a new version of Zero with the pin headers pre-soldered and a standard size USB connector. Not sure if this will ever happen, but we will see!